Depending on the individual, some might say that the eyebrows are the most important part of a makeup routine. Not only because shapely and full eyebrows are all the rage right now, but also because the eyebrows frame the face. While some women have next-to-professional skills at maintaining and filling in their brows, others have yet to use – or even buy – an eyebrow kit. And, frankly, who could blame them?! There are so many different eyebrow products on the market today that it can get overwhelming for seasoned beauty shoppers, never mind the newbies. Those who are finally ready to jump onto the on point eyebrow bandwagon will find the below tips handy when, as they provide the essentials of learning how to choose and use and eyebrow kit.
Disclaimer: with the practice of a proper technique, groomed brows make a major difference in every girl’s look.
Choosing an eyebrow kit
When choosing an eyebrow kit, there are a total of six “must haves” that will be included in a quality eyebrow kit. The six must haves are as follows: (1) brow wax, (2) a lighter brow powder shade, (3) a darker brow powder shade, (4) a pair of angled tweezers, (5) an angled brush, and (6) a spoolie brush, aka mascara wand, aka round brow brush.
It’s true – this does seem like an overload of tools to manicure just a few inches of hair. However, every one of the six items is used when creating a perfect pair of brows. Read on to learn how to do just that.
Using an eyebrow kit
With a clean and moisturized face, and brow kit in hand, follow the steps below create fabulous on fleek brows.
- Prep all those tiny eyebrow hairs by first applying the brow wax along the length of the bows. Although this is a step that most people fail to take, it is actually quite beneficial as the wax has a dual and beneficial purpose; the first benefit being that it will shape the brows by aligning the hair and managing and stragglers, the second benefit being that it acts as a primer for the brows, encouraging the colored powder last longer. Use the angled brush to trace the wax along the brows.
- Before applying the color, it’s important to identify three key areas of the brow, here’s how to go about that:
- Identify the starting point first. To do this, hold a brush – any brush – vertically along the outside of the same sided nostril (e.g. when working on the left brow, line the brush along the left nostril).
- Now locate the Then hold the peak of the arch. Do this by holding a brush at a diagonal, connecting the bottom of the nostril, through the center of the pupil, and finishing at the peak.
- Lastly, identify the end point of the brow by crossing the brush from the corner of the nostril to the outside of the eyelid.
- When just starting out, it’s a good idea to mark each of these points with a small dot of eyebrow powder, as it will help in proper shaping.
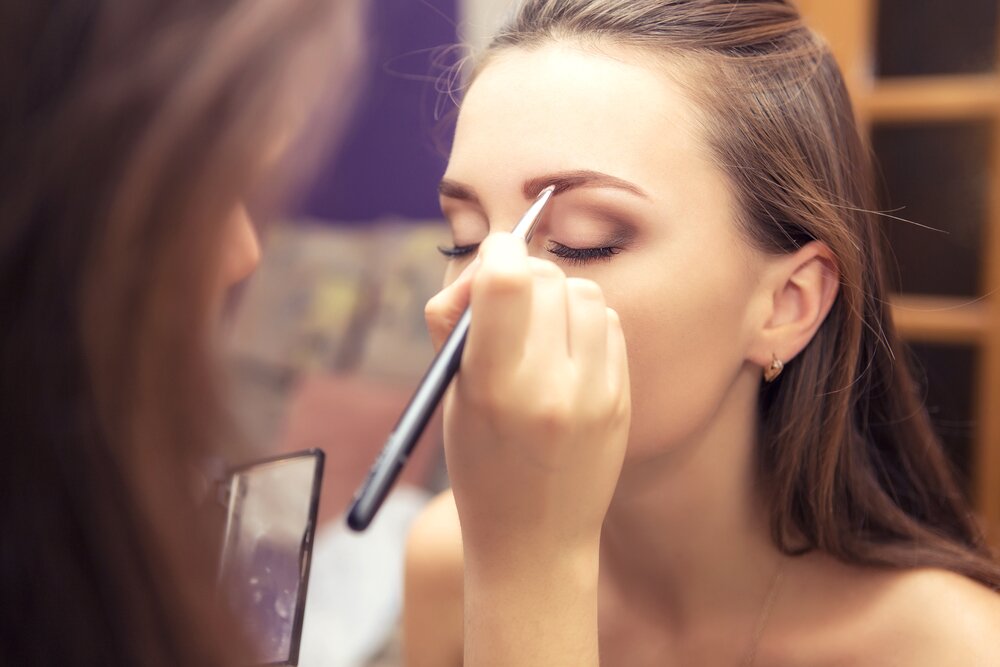
- Using the same angled brush which was used to apply the wax, apply the eyebrow powder, making short, light, strokes to define the shape.
- The reason there are two different colored powders is to allow each individual to create a custom color that is best for their brows. Use both colors if needed.
- When the brows have reached the desired shape and shade, use the spoolie brush to blend and smooth the powder and hair together, ultimately preventing them from looking overdone.
- Finally, use the tweezers to pluck any stray hairs that don’t quite belong in the shape of the brow.